GLHF! Animation
The Project
As a part of the student-run radio show GLHF!, a video game talk show, I was tasked with creating a promotional video for the return of the show for its 3rd season.
This season would be the first that the team would be broadcasting from the on-campus radio station, the Allan Slaight Radio Institute, so we wanted to make a point of this special occasion in the video.
This promotional video would be in 2 parts, one teaser leaving off on a cliffhanger to build anticipation, and one full video to finish the cliffhanger and promote the show's return.
The Process
Avatar Redesign
With a new season, comes a new look. With a year passed and 2 seasons finished, some of the team felt that their avatars were in need of an update. So following their instruction, thats just what I did.

Since the avatars we're already existing assets, it was pretty simple to recolour and adjust certain aspects of each character in Adobe Illustrator.
Run Cycle
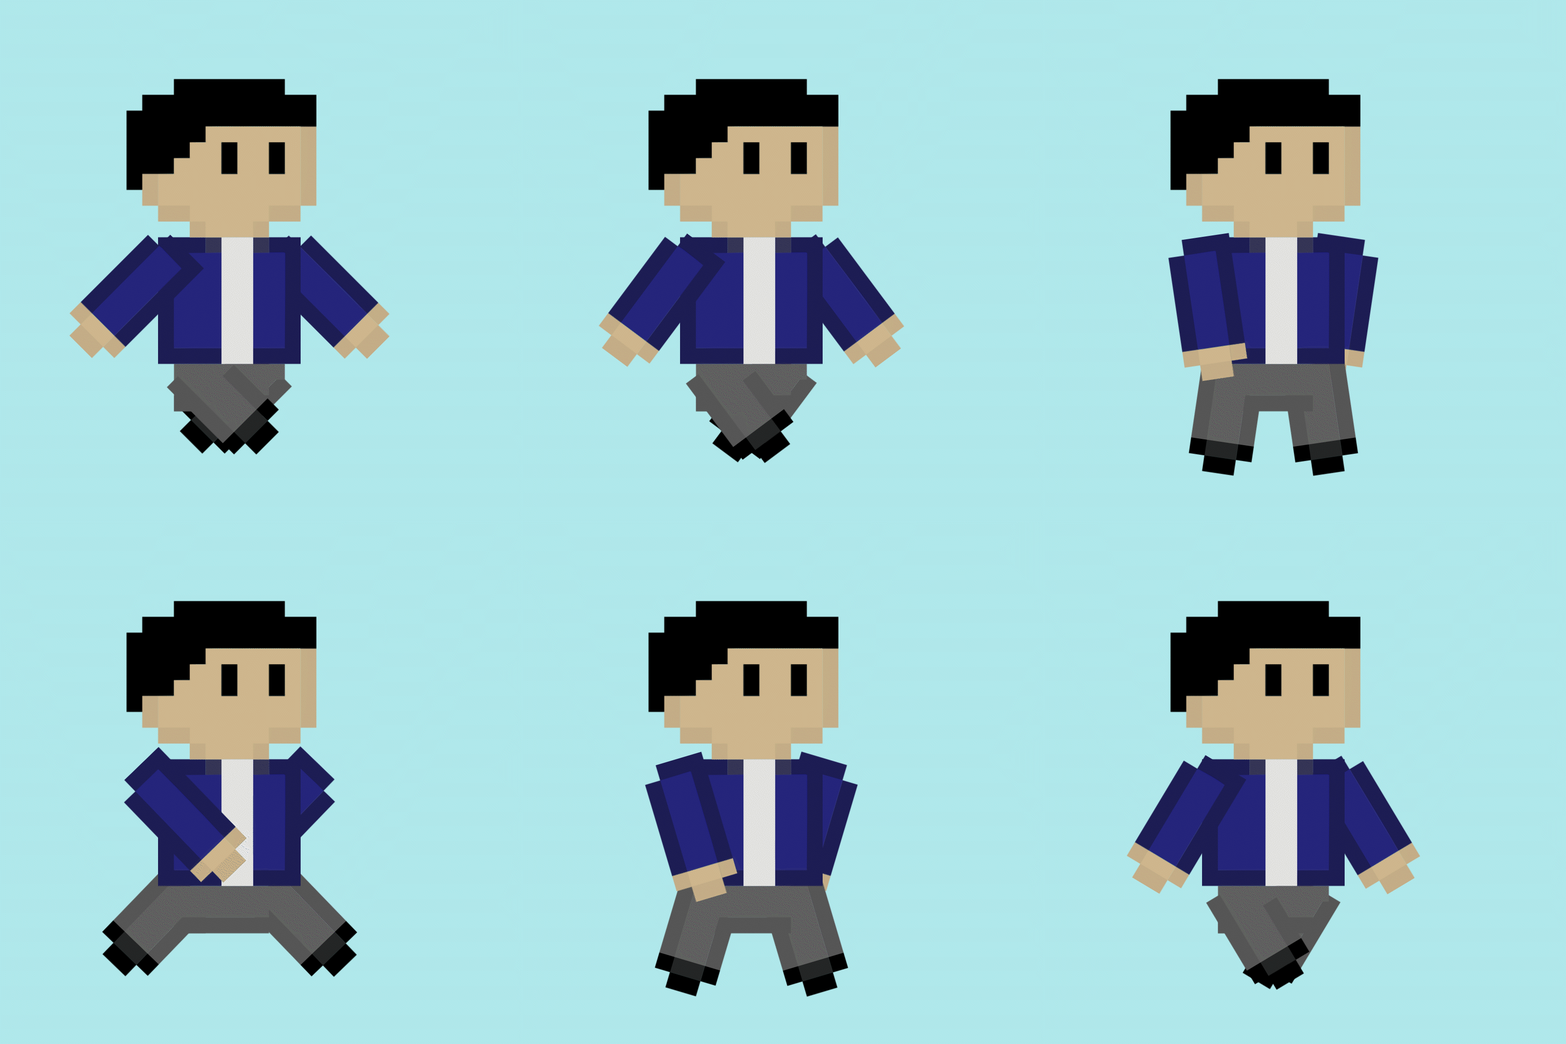
With the easy part out of the way, I had to rig and prepare these characters for animation. I divided each moving appendage of a character onto separate layers, organizing the file this way makes it possible to animate the character in the Adobe After Effects.
Each character was divided into multiple parts for ease of animation in After Effects.
Rotation point markers were placed on the limbs so that each characters limbs rotated from a consistent joint.
The shape of the hips and left leg were done as a way to avoid odd-looking overlaps between the body and the moving parts


I mapped the 2 central poses that would be in the walk cycle, making note of the angles and positionings made for efficient animation in After Effects.
Animation was achieved by inputing rotation values and timing durations, filling in the frame gaps between these two poses
After nailing down the animation for one character. I repeated the process for all 7 characters, offsetting the timing of the cycle to appear more natural.
Ensuring that the animation looped properly was a challenge. Due to an issue with the Looping Commands in After Effects the cycle did not loop cleaning, but I was able to find a solution by deleting and re-programming the keyframes.

Background Design
Since the animation was promoting the teams broadcast from campus, it felt fitting to animate the characters walking down a recognizable street from the university.
To achieve this, I illustrated an extremely wide graphic recreation of Gould Street, featuring the uniquely shaped Student Learning Center Building.


To achieve a consistent arcade, pixel look that matched the characters, I used the prebuilt mosaic effect in Adobe After Effects. To simulate walking down the street, the background was key-framed backwards while the characters were animated running on the spot.
Arcade Animation
To construct the arcade animation I used a pre-existing arcade template, provided by a fellow graphic designer and used in prior GLHF! marketing material.
The ambience and lighting were created by converting the After Effects composition into a 3D space, and positioning virtual lights around the scene, key-framing their intensity to get the desired flicker.
The screen effects were done by using the TV scan lines effect. The text and loading bar was achieved by using a series of shape layers and key-framed mask paths.